
In this post, you will find a step by step guide to Root Samsung Galaxy A320F A320FL Android 7 Nougat.This tutorial will help you in root Galaxy A3 2017 without any difficulty.Root help you in overcomes the restricts that your smartphone manufacturer put on your smartphone.You can flash custom ROM on your Galaxy A3 2017 after getting root access.
Samsung released Galaxy A3 2017 back in January 2017.Galaxy A3 2017 is a mid-range smartphone with 4.7 inches 720p Super AMOLED display.Exynos 7870 which is an octa-core chipset powers the Galaxy A3 2017 with 2 GB ram.This smartphone is also IP68 certified from dust and water.
WARNING :
- Rooting your smartphone will void its warranty.
- We are not responsible if your device gets damaged during the rooting procedure.
- Make sure your device has at least 50-60 percent battery backup.
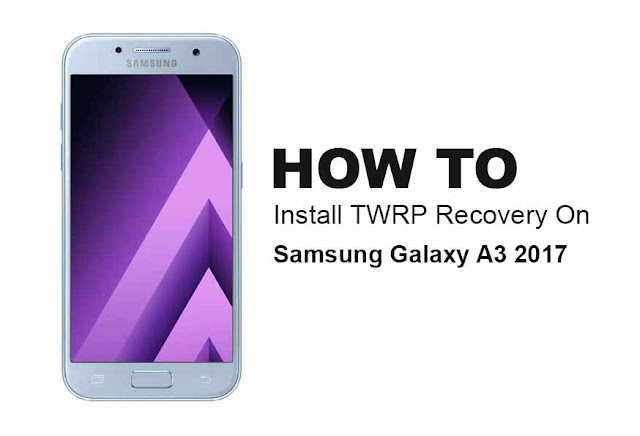
This tutorial is only for SM-A320FL and A320F, also known as Galaxy A3!
Make sure you read the whole tutorial before doing anything.
Make a backup of your data. You need to make a factory reset!
Also read the additional information in the separated threads! Knox will be tripped after that, so you can't use it any more. And no more Warranty!
You can find a Android 7 version with the latest security patch with google or just use the linked one. Make sure the CSC is correct for your country/language.
1. Download the following stuff:
3. Flash TWRP via Odin; Thread with additional informations
4. Now install via TWRP the Boot image patch no-verity-no-encrypt_ashyx. To do that, just copy the zip file to your SD card. Go to TWRP and install it with the Install option within TWRP.
4. Format Data in TWRP. To do that click on Wipe -> Format Data in TWRP. After that all your data is lost! Reboot to System.
5. install supersu: power off boot to recovery (power+home+volume up) ->install -> Sdcard -> SuperSU-v2.82-201705271822 -> swipe to install -> reboot system.
6. Now you should have root access, Magisk and Xposed up and running.
Samsung released Galaxy A3 2017 back in January 2017.Galaxy A3 2017 is a mid-range smartphone with 4.7 inches 720p Super AMOLED display.Exynos 7870 which is an octa-core chipset powers the Galaxy A3 2017 with 2 GB ram.This smartphone is also IP68 certified from dust and water.
WARNING :
- Rooting your smartphone will void its warranty.
- We are not responsible if your device gets damaged during the rooting procedure.
- Make sure your device has at least 50-60 percent battery backup.

This tutorial is only for SM-A320FL and A320F, also known as Galaxy A3!
Make sure you read the whole tutorial before doing anything.
Make a backup of your data. You need to make a factory reset!
Also read the additional information in the separated threads! Knox will be tripped after that, so you can't use it any more. And no more Warranty!
You can find a Android 7 version with the latest security patch with google or just use the linked one. Make sure the CSC is correct for your country/language.
1. Download the following stuff:
- Latest Odin3
- twrp_3.1.1-1_sm-a320f_11917
- Boot image patch no-verity-no-encrypt
- SuperSu (super user ) latest
- Samsung USB driver
3. Flash TWRP via Odin; Thread with additional informations
Quote:
Instructions summary:
Flash with ODIN 3.10.7 in the AP slot.
Put your device in DOWNLOAD mode.
Uncheck Auto reboot.
Load the respective file below into the AP slot and hit start.
After flashing and ODIN reports PASS immediately reboot to recovery by holding POWER + VOL DOWN.
As soon as the screen goes blank change to VOL UP whilst holding POWER + HOME.
You should now see TWRP recovery.
4. Format Data in TWRP. To do that click on Wipe -> Format Data in TWRP. After that all your data is lost! Reboot to System.
5. install supersu: power off boot to recovery (power+home+volume up) ->install -> Sdcard -> SuperSU-v2.82-201705271822 -> swipe to install -> reboot system.
6. Now you should have root access, Magisk and Xposed up and running.
Watch this video tuttorial; dont miss any step.
Enregistrer un commentaire